Installing a font on a Mac takes about thirty seconds once you know where to click. Whether you downloaded a typeface or made your own with FontMaker, macOS handles TTF and OTF files the same way. This guide covers both installation methods, how to enable and organize fonts, and what to do when a font refuses to show up.
Before you install
First, get the font file itself. macOS works with both TTF (TrueType) and OTF (OpenType), and a font you export from FontMaker installs exactly like any other.
If your font arrived as a .zip archive, unzip it first: double-click the archive in Finder and macOS extracts a folder with the real font files inside. You cannot install a font while it is still zipped, so always look for the loose .ttf or .otf file before you continue.
Method 1: Double-click and Install Font
This is the fastest way for a single font.
- In Finder, locate your
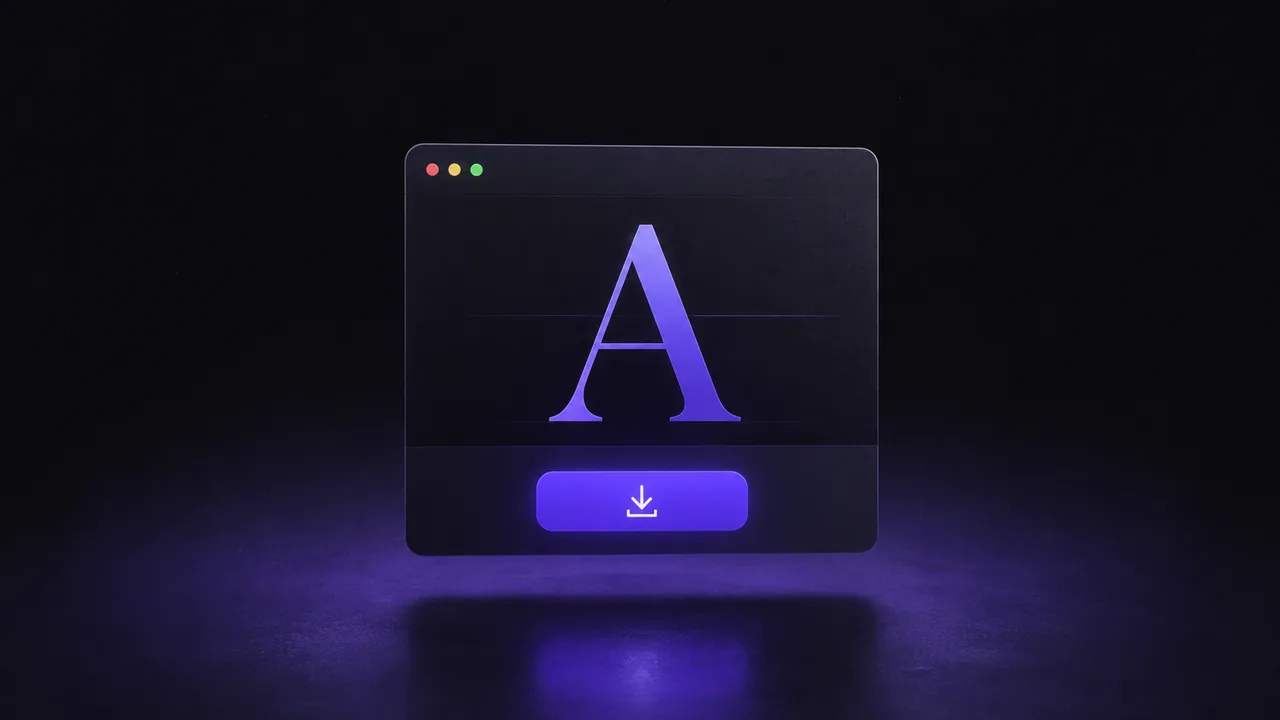
.ttfor.otffile. - Double-click it. A preview window opens showing the alphabet in your new typeface.
- Click the Install Font button at the bottom of that window.
macOS validates the file, adds it, and usually opens Font Book so you can confirm it is there. That is the whole process for one font.
Method 2: Use Font Book
Font Book is the app macOS uses to manage every font on your system. It is the better choice when you want to install several fonts at once.
- Open Font Book (find it with Spotlight, or in the Applications folder).
- Drag your font files straight into the Font Book window, or
- Choose File > Add Fonts to Current User (older macOS versions say File > Add Fonts) and pick your files.
You can select many files together and add them in a single step. Font Book installs and validates each one automatically.
Install for this user or for all users
macOS can install a font in two places, and the difference matters if you share the Mac:
| Scope | Who can use it | Where it lives |
|---|---|---|
| This user only | Just your account | Your personal Library |
| All users | Everyone on the Mac | The shared system Library |
In recent versions of Font Book, open Font Book > Settings (or Preferences) and set the Default Install Location to User or Computer. When adding fonts through the File menu, choose Add Fonts to Current User or Add Fonts to Computer. Installing for all users requires an administrator password.
Enable, disable and organize fonts
You do not have to delete a font to stop it appearing in your apps. Font Book lets you switch fonts on and off and group them:
- Disable a font: select it, then choose Edit > Disable. It stays installed but drops out of every Fonts menu until you enable it again.
- Create a collection: click the plus button in the sidebar to make a named group (for example "Projects" or "Handwriting") and drag fonts into it. Collections are just for your own organization and do not move the files.
- Remove a font: select it and choose File > Remove (or press Delete). macOS asks you to confirm before it deletes the font from your system.
Use your new font
Newly installed fonts appear in the Fonts menu of your apps, but not always right away. Most apps only read the font list when they launch.
If your font is missing from Word, Pages, Photoshop or any other app, quit that app completely and reopen it. After the restart, your new typeface (including anything you made in FontMaker) shows up in the font picker alongside the built-in ones, ready to type with.
Troubleshooting
If something goes wrong, work through these checks:
- Font not appearing: restart the app first. If it is still missing, open Font Book and confirm the font is listed and not greyed out (greyed out means disabled, so enable it).
- Validate the file: in Font Book, select the font and choose File > Validate Font. This flags a corrupt or malformed file, which is the usual reason a font installs but never renders.
- Duplicates: if you installed the same font twice, Font Book marks it with a yellow warning triangle. Choose Edit > Resolve Duplicates to clean them up and avoid conflicts.
- Still stuck: remove the font, re-download or re-export it (a fresh TTF or OTF from FontMaker rules out a broken file), then install it again.
That covers everything from a single double-click to sorting out a stubborn font. Once it is installed and you have restarted your app, your font behaves just like every other typeface on your Mac.