Canva ships with hundreds of built-in fonts, but sooner or later you want a specific one: your brand typeface, a font you bought, or a font you made yourself. The good news is that Canva lets you upload your own fonts. The catch: font upload is a paid feature, so you need a Canva Pro or Canva Teams account. Here is how it works, from start to finish.
What you need
Two things:
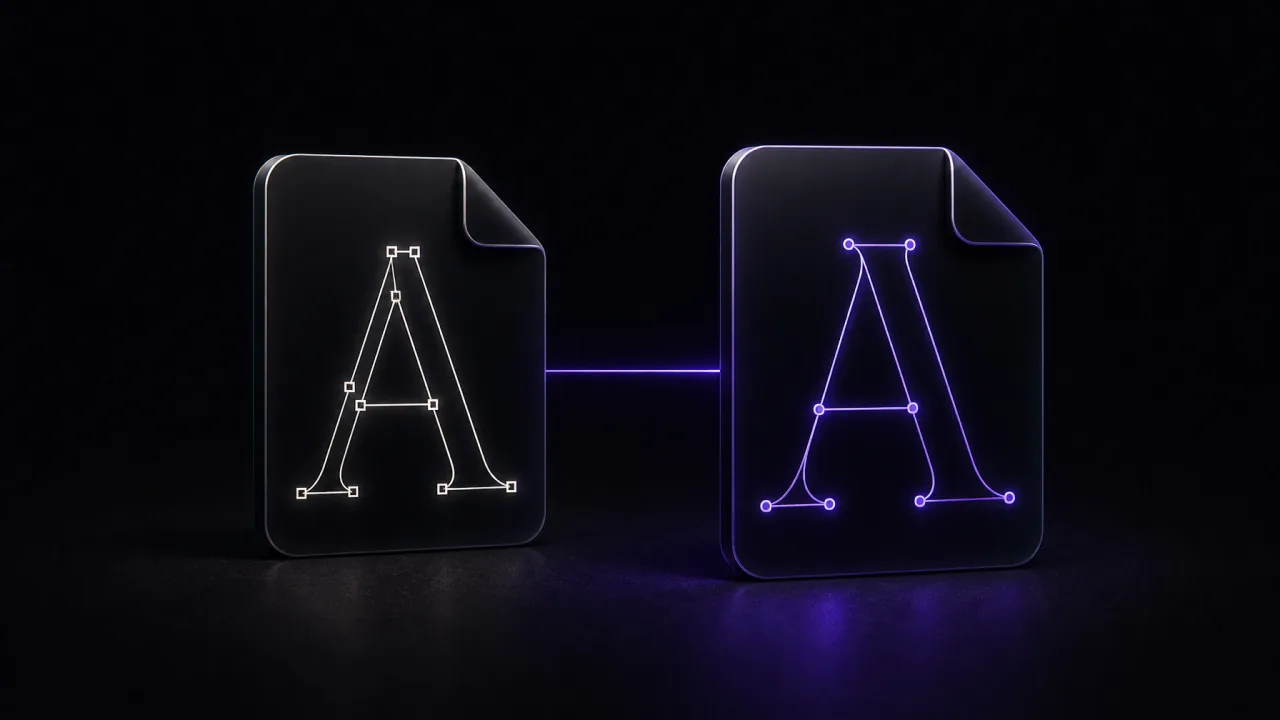
- A font file in TTF, OTF or WOFF format. These are the three formats Canva accepts for uploads.
- A Canva Pro or Canva Teams account. Uploading custom fonts is not available on the free plan (more on your options for that below).
If you have both, the whole process takes about a minute.
Step 1: Get your font file
You need the actual font file on your computer before you can upload it.
- If you bought or downloaded a font, it usually arrives as a
.ttfor.otffile, sometimes inside a.zipyou need to unzip first. - If you want a font that is truly your own, you can make one with FontMaker and export it as TTF or OTF. Both formats upload to Canva without any conversion.
Make sure you have the right to use the font. Many free fonts are fine for personal and commercial work, but always check the license before uploading a purchased or third-party font.
Step 2: Upload the font to Canva
Once you have your file, uploading takes just a few clicks:
- Log in to Canva and open the Brand Hub from the home page (your brand area).
- Open your Brand Kit.
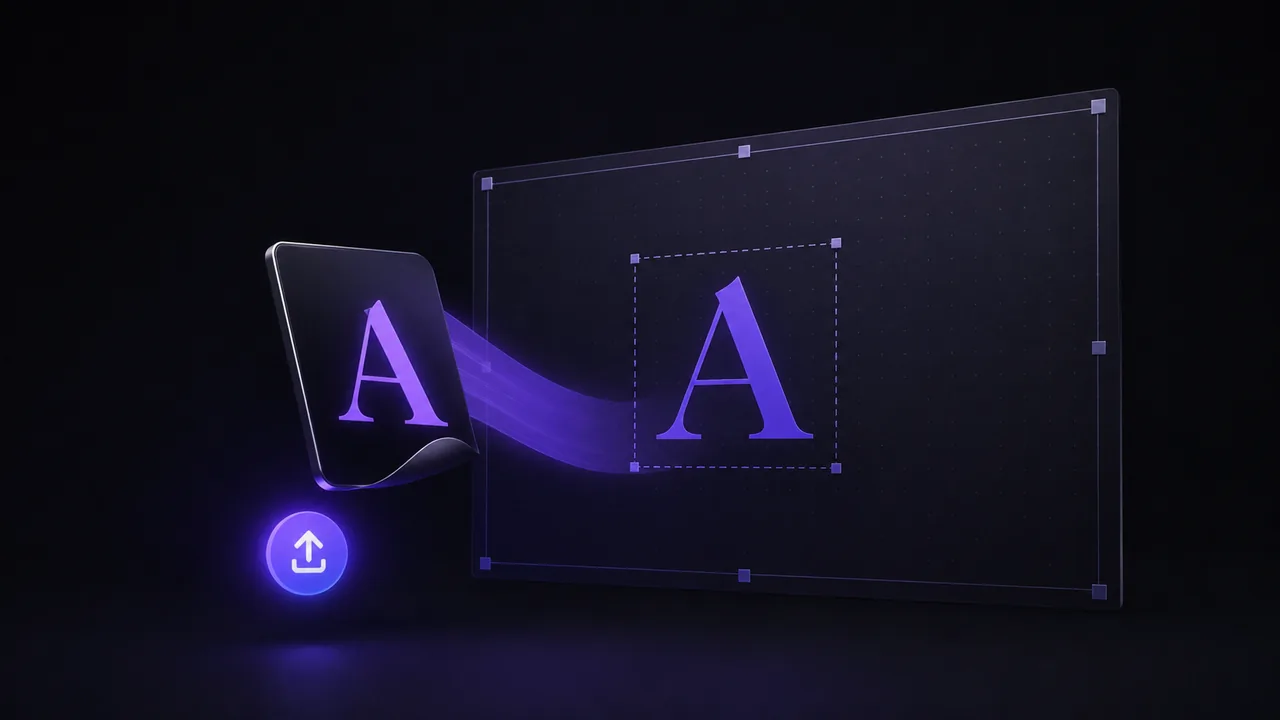
- Find the Fonts section and click Upload a font.
- Select your TTF, OTF or WOFF file and confirm.
Canva processes the file and adds it to your Brand Kit. You can upload several fonts this way, for example a separate file for regular, bold and italic, so each weight shows up correctly.
Step 3: Use your font in a design
Your uploaded font is now available in any design:
- Open or create a design and add a text box, or select an existing one.
- Open the font list in the top toolbar.
- Scroll to the top or search for your font by name. Uploaded fonts appear alongside Canva's own fonts.
- Click it to apply.
From there it behaves like any other font: change the size, color, spacing and alignment as usual. If you uploaded separate weights, pick the exact one you need from the list.
No Canva Pro? Your options
On the free plan you cannot upload fonts directly, but you are not stuck:
- Design the text elsewhere and add it as an image. Set your text in another tool with your font, export it as a transparent PNG, and upload that image to Canva. It will not be editable text, but it looks exactly how you want.
- Use Canva's built-in fonts. The free library is large, and you can often find a close match to the style you are after.
- Upgrade when it matters. If custom fonts are central to your brand, a Pro or Teams plan pays for itself quickly by keeping everything editable inside Canva.
Make your own font to upload
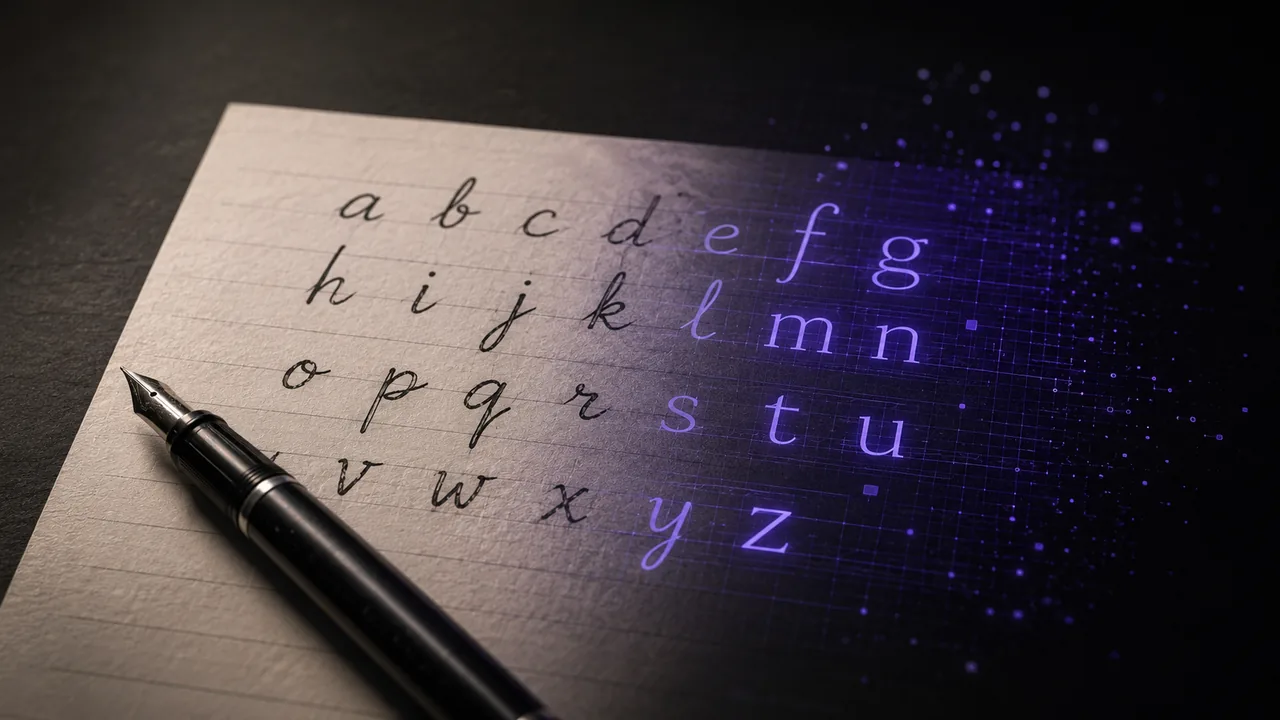
Uploading gets far more interesting when the font is yours. With FontMaker you can turn your handwriting, a lettering sketch, or a set of drawings into a real font, right in your browser and for free.
The flow is simple: import your letters as images or SVG files, adjust the spacing in a live preview, and export a TTF or OTF. That is exactly the kind of file Canva accepts, so you can upload it through your Brand Kit and start typing in your own handwriting inside any design.
It is a quick way to give a project a personal, one-of-a-kind look that no built-in font can match. Have your file ready, follow the three steps above, and your font will be waiting in Canva the next time you open the font list.